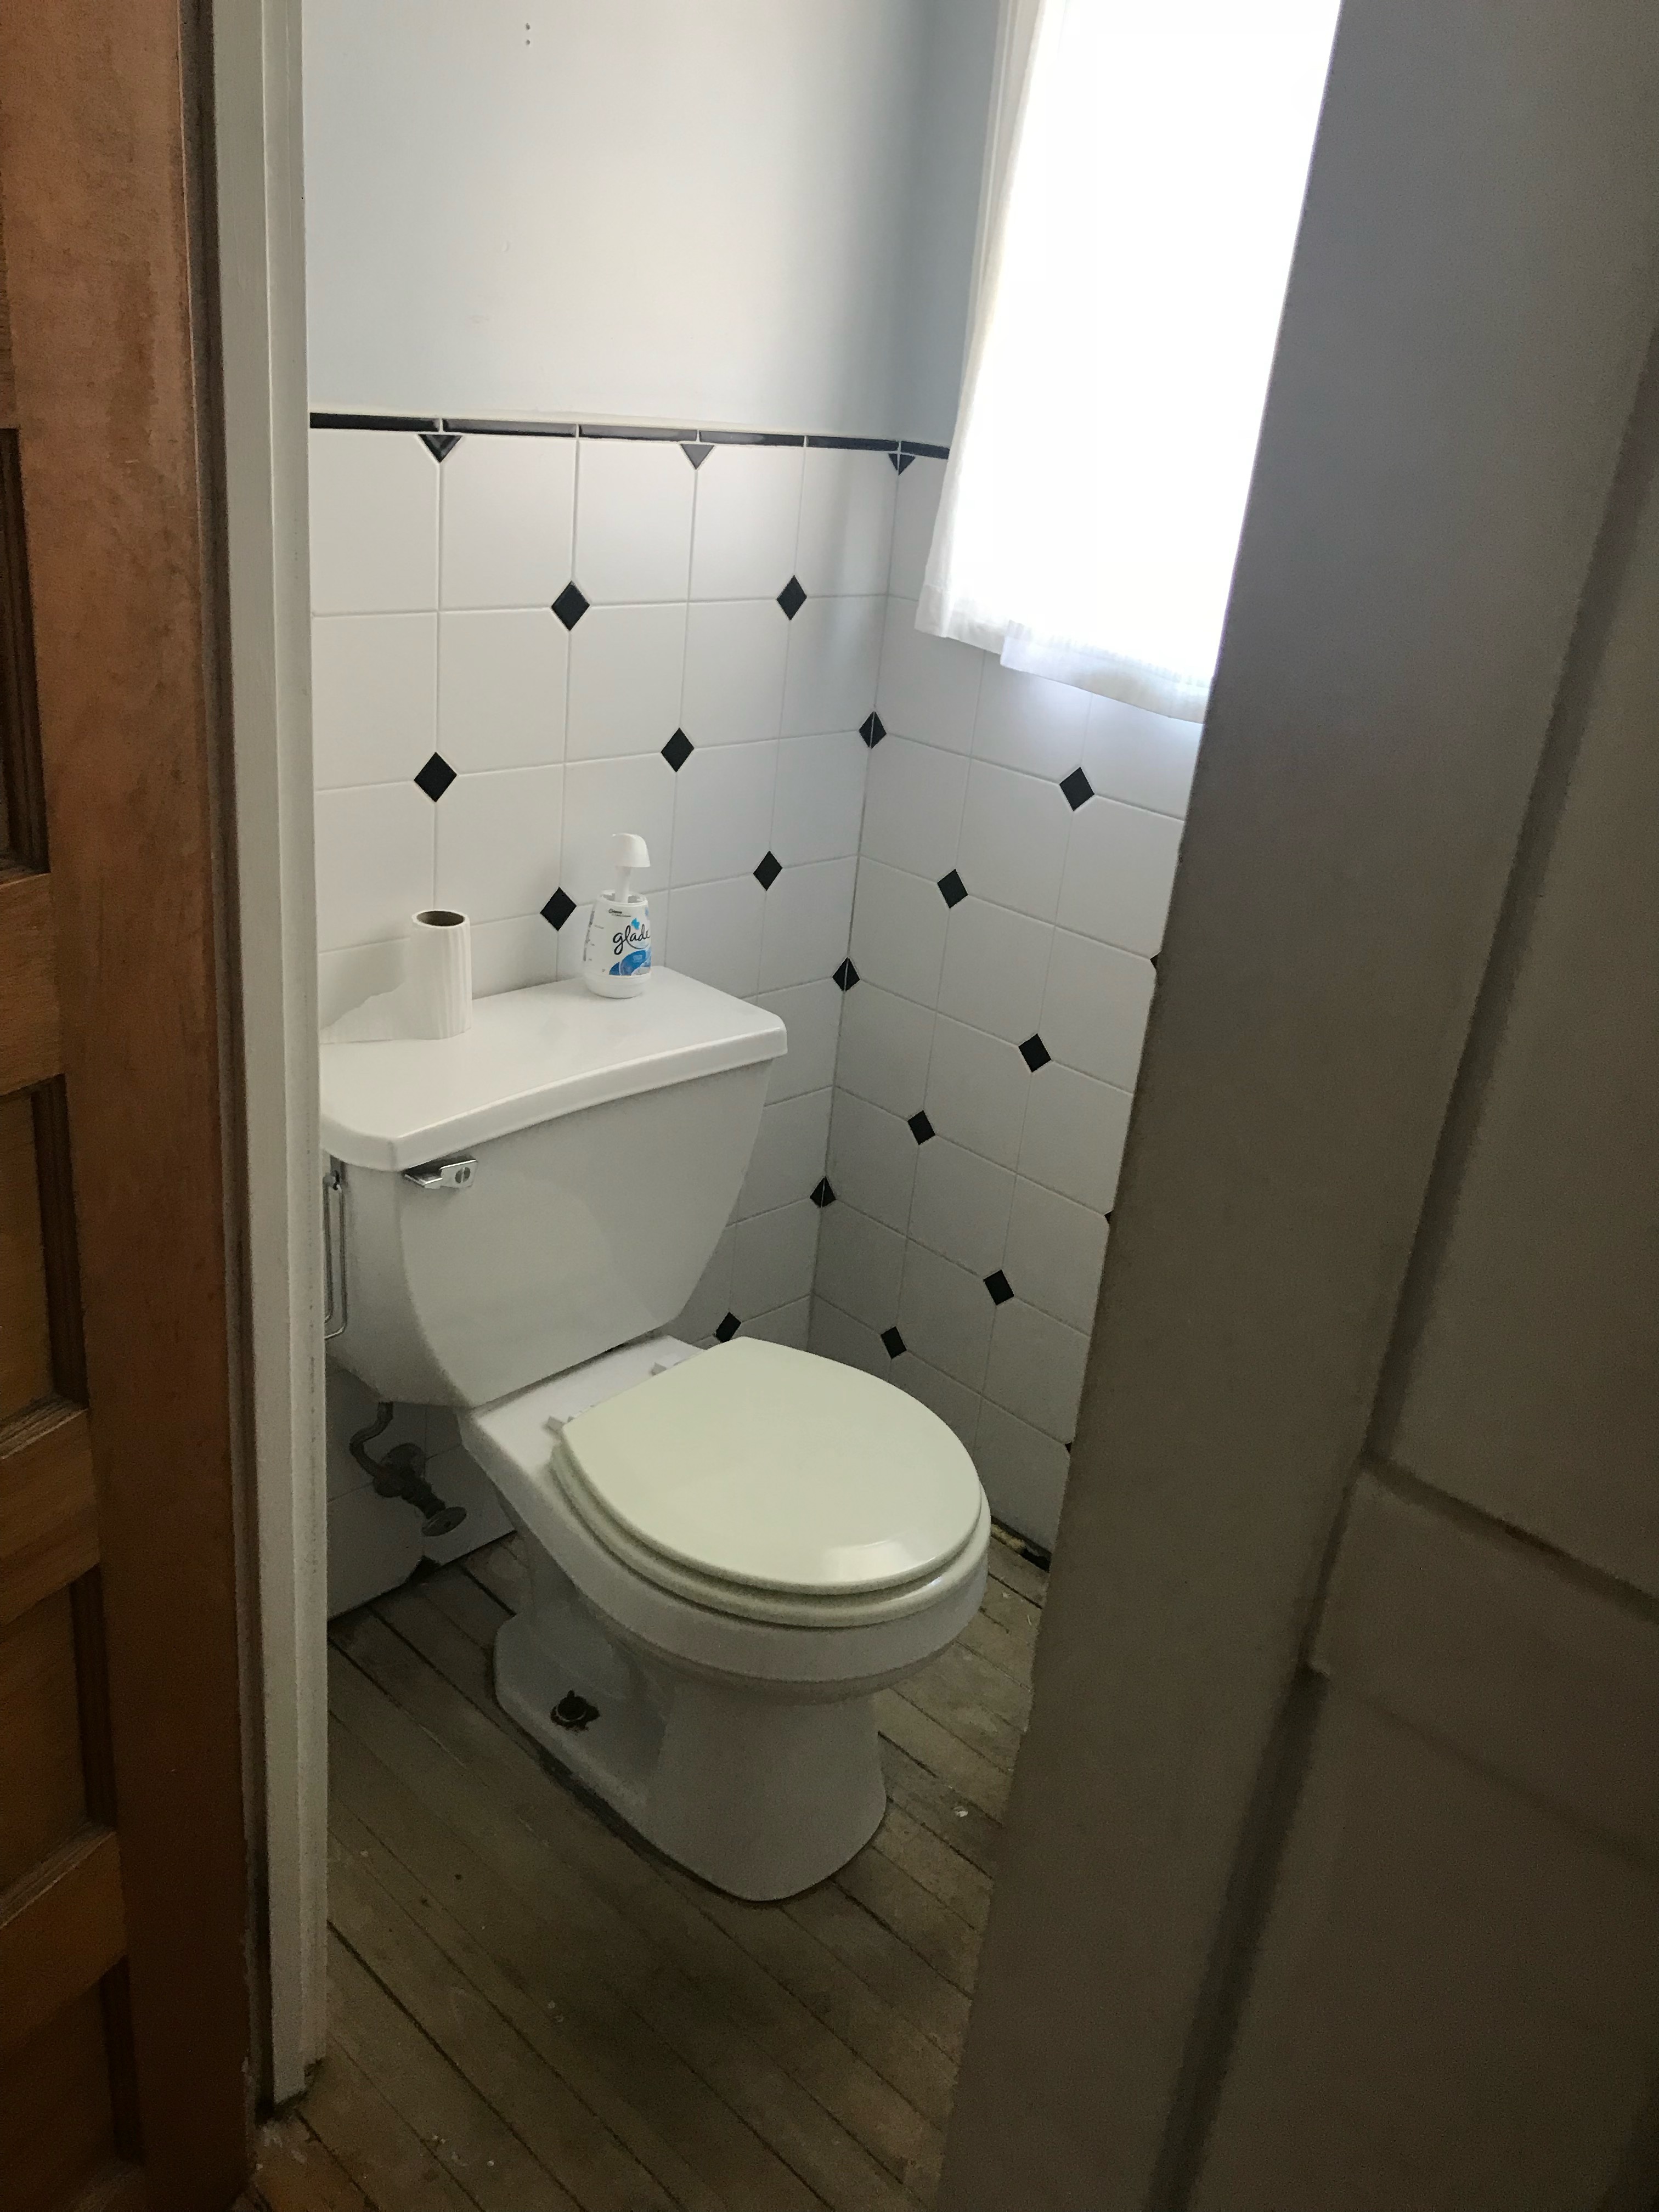
In our search for a new home, we knew we were looking for something that would have some value adding opportunities. We definitely found what we were looking for but I’m not certain that we had this amount of work in mind. When we did an initial walk through you could hear an audible gasp upon seeing THIS disaster of a room. This room was in such bad shape but we also knew some elbow grease would make a big impact. I couldn’t wait to get started…but then I didn’t.
We had planned to hire out the bathroom remodel, except we were redoing all our bathrooms at the same time. We decided to leave this one functional so the workers would have a restroom to use during the renovation. Slowly the workers were packing up their tools until we realized everyone was gone and our bathroom still looked the same as when we had purchased it. We figured the room was small enough that we could knock out the project over a weekend or something. Totally unrealistic in hindsight but then we ended up completing it in a week.
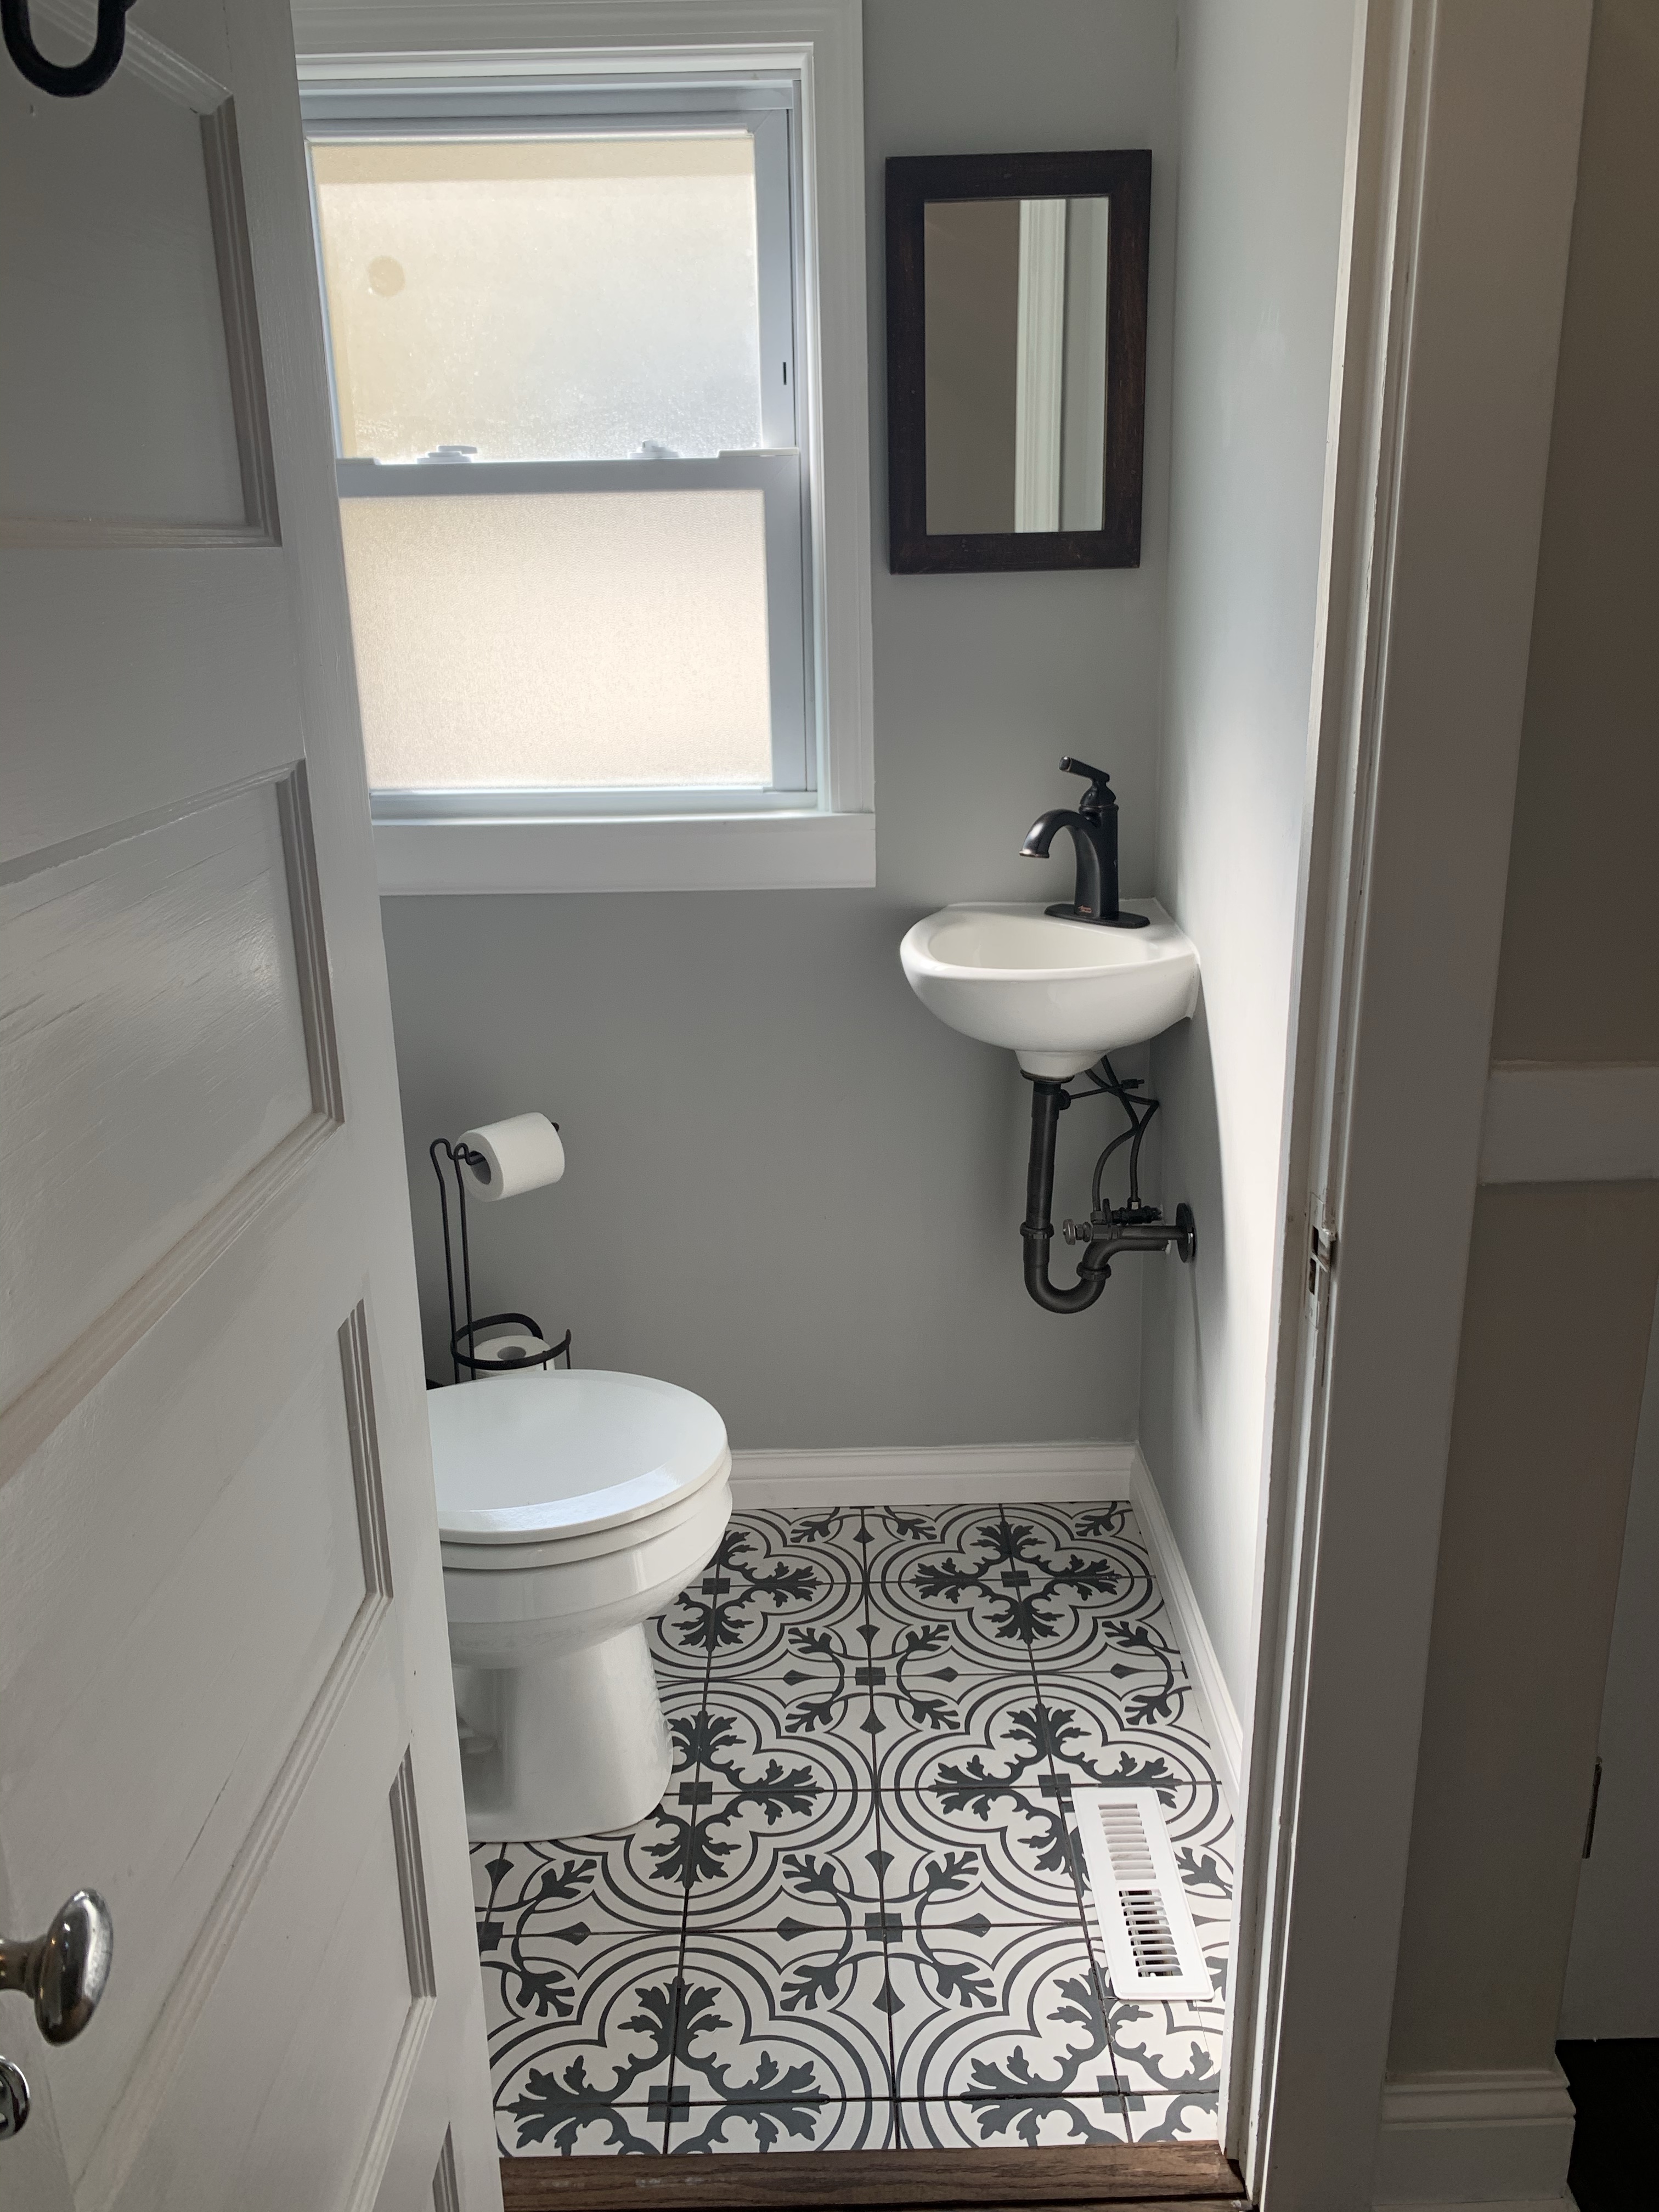
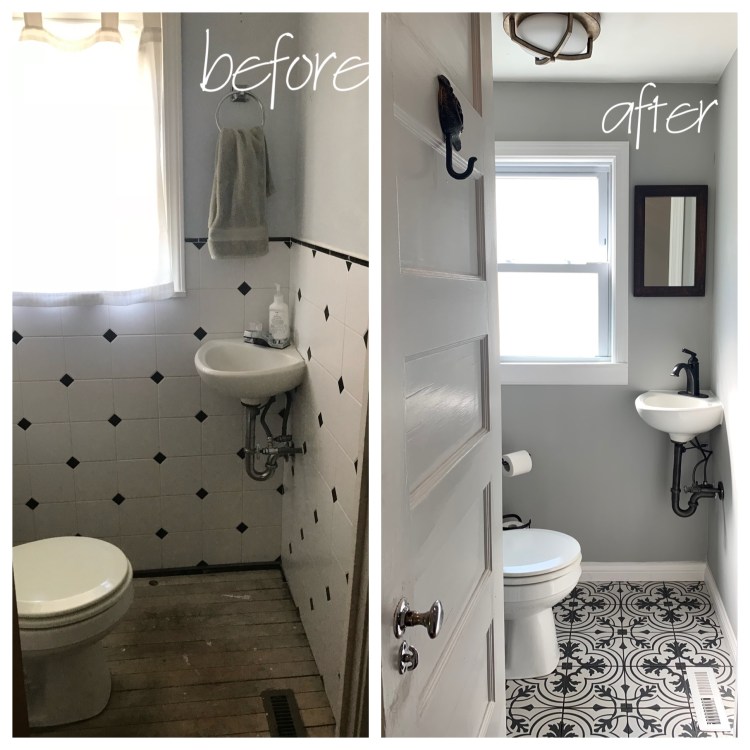
How you ask? Peer pressure. We had planned to have people over in a weeks time when we realized it would be embarrassing to have people over with our half bath looking like it did. So we moved mountains and made it happen. I could not be happier with the result of our tiny bath – hope you agree!

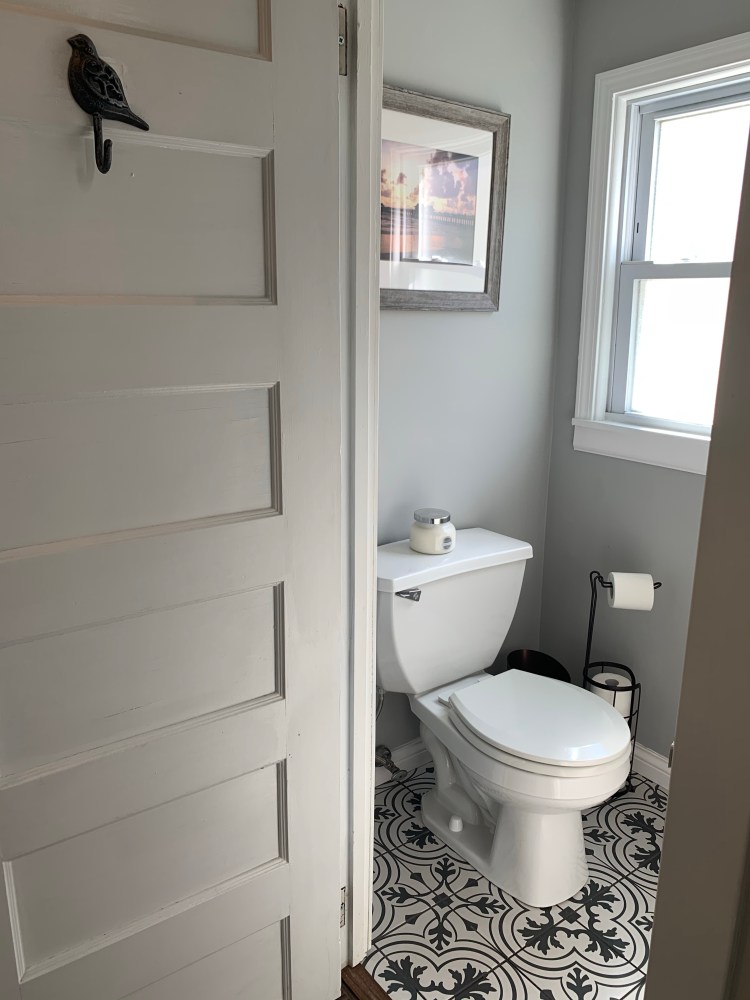
Moroccan Tile | Candle | Similar Light Fixture | Similar Mirror | TP Holder | Spray Paint | Faucet
This project was very involved. You need a small amount of a lot of different types of materials for a room this tiny. Not to mention a zillion different tools and some prayers. Below is a little insight to the scope of work undertaken for the 1/2 bath…almost exclusively done by my husband (love you!). My value add was moral support and painter.
Scope of work:
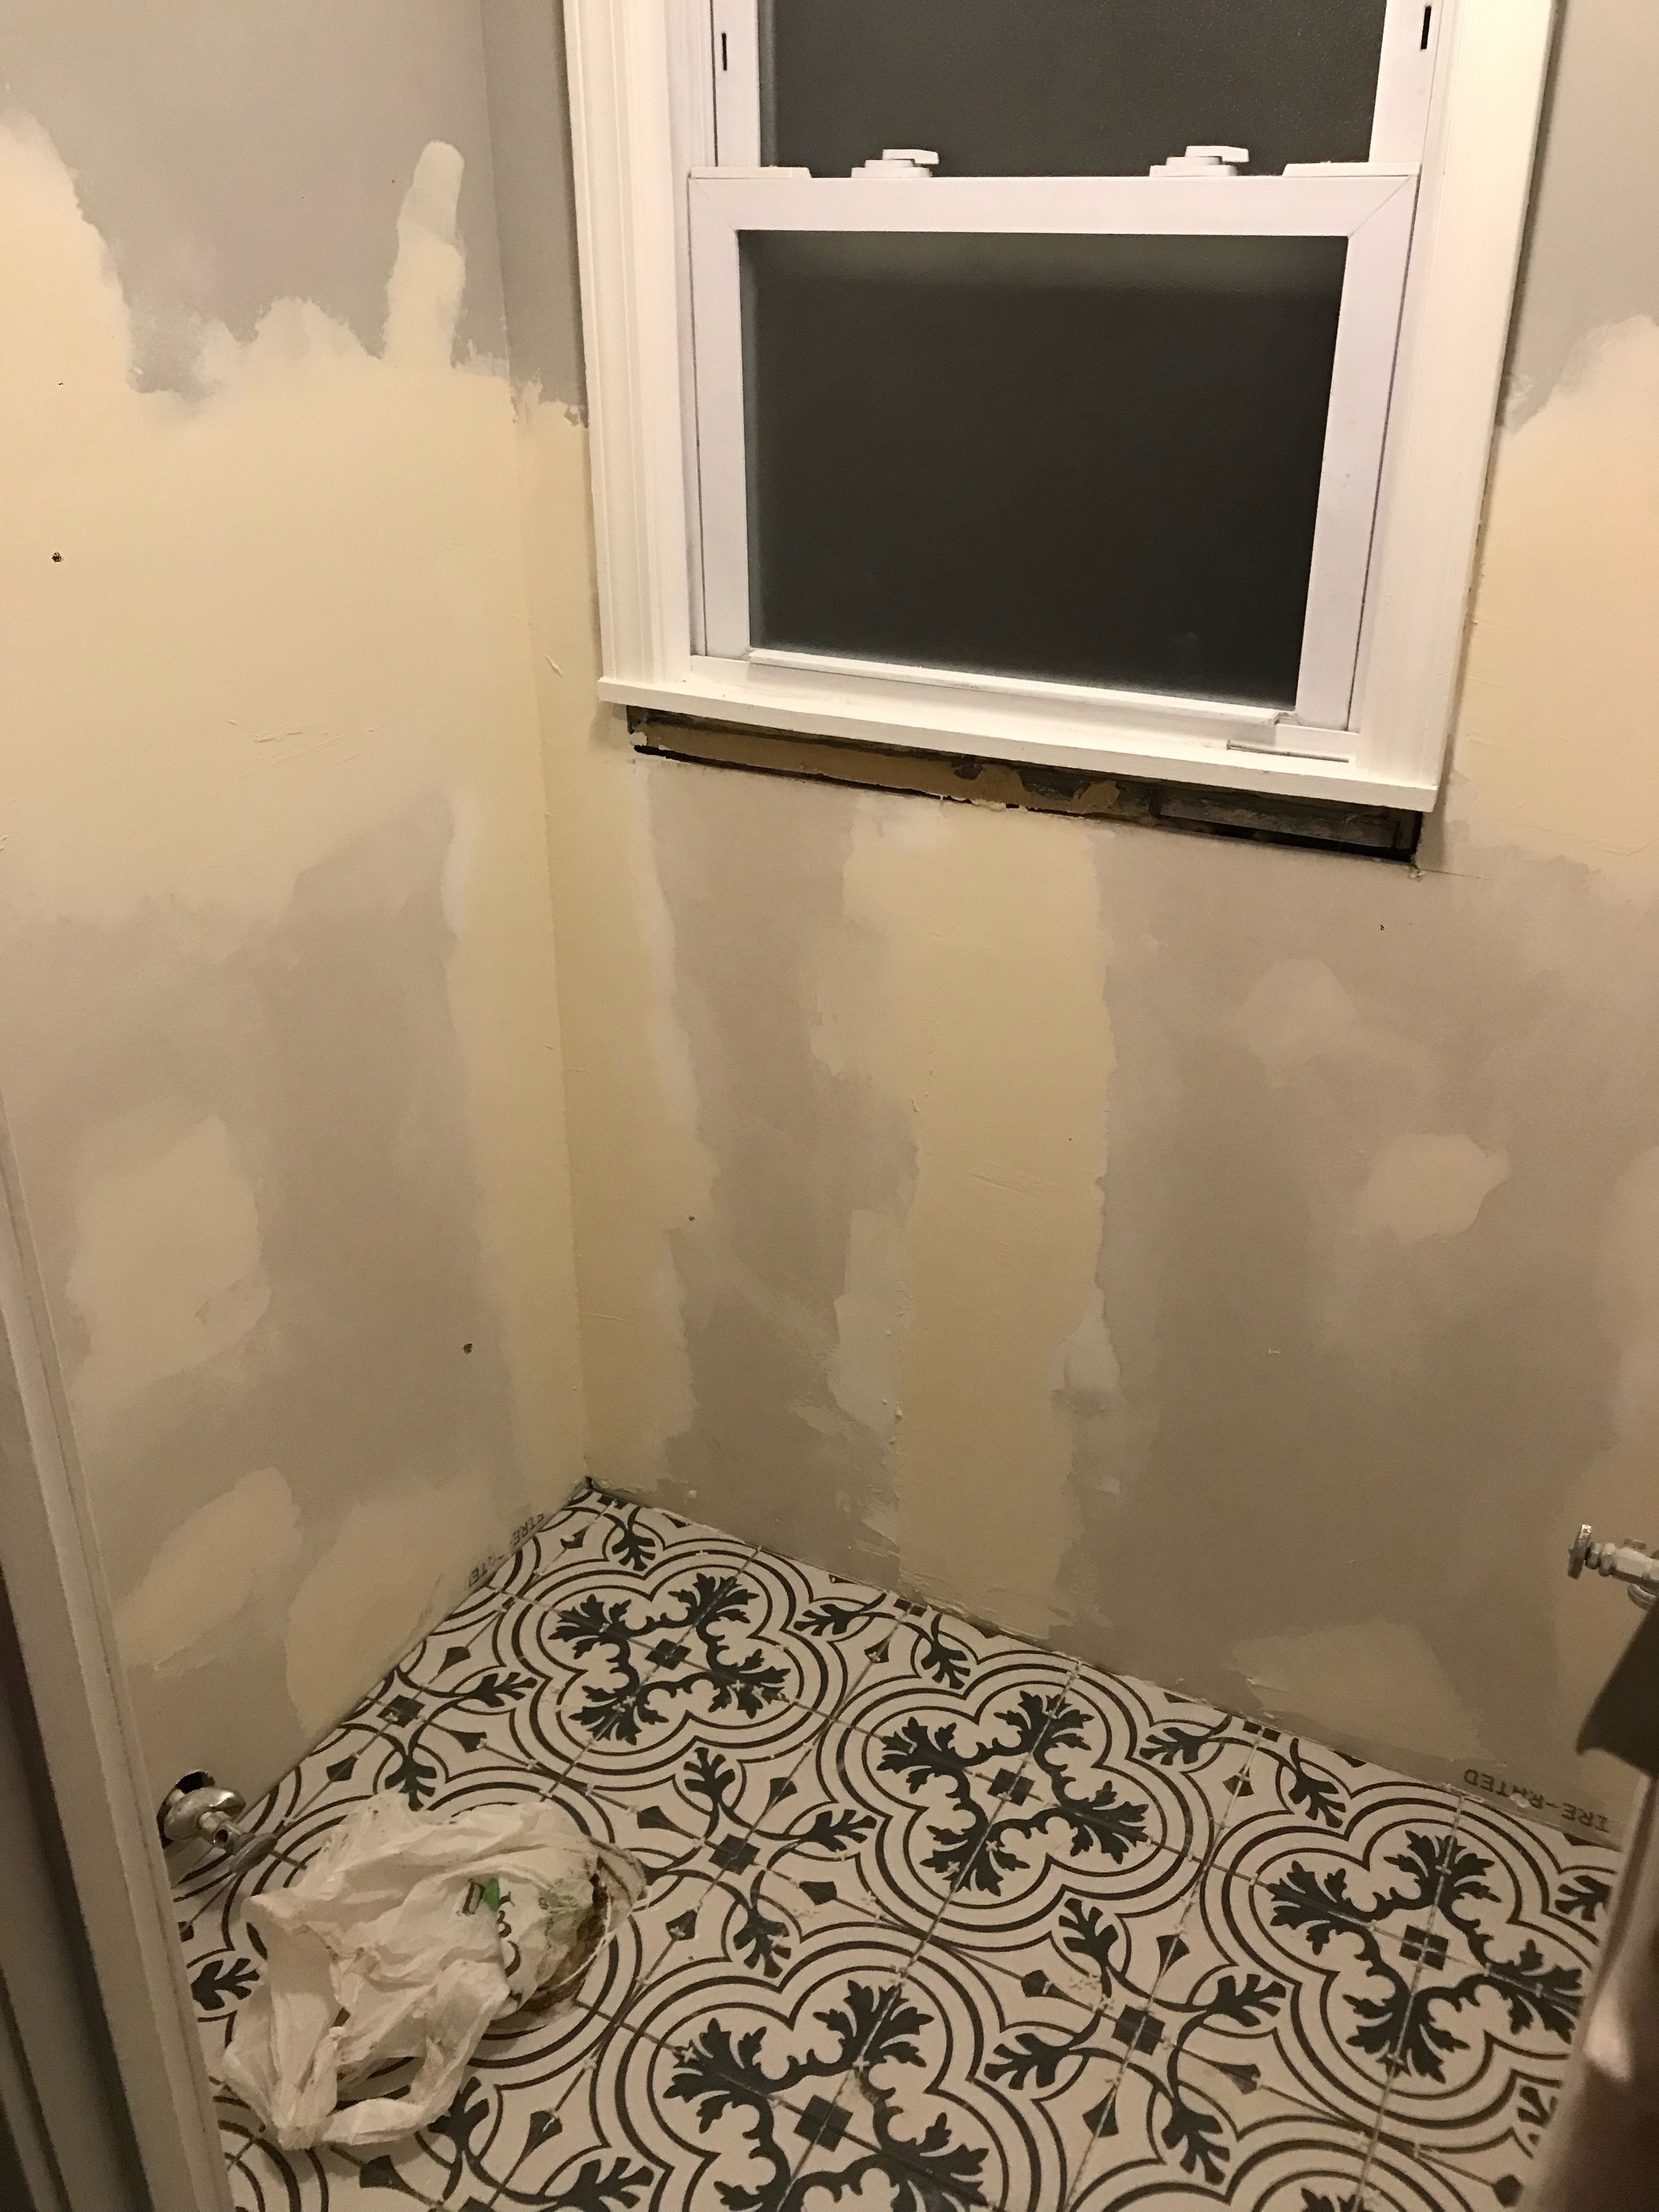
- Level the floors and install durarock (this resulted in the water lines for the toilet to be too short requiring a trip to Ace for longer hoses)
- Remove tile walls and drywall
- Install drywall – Tape, putty, let dry, sand, repeat 3X
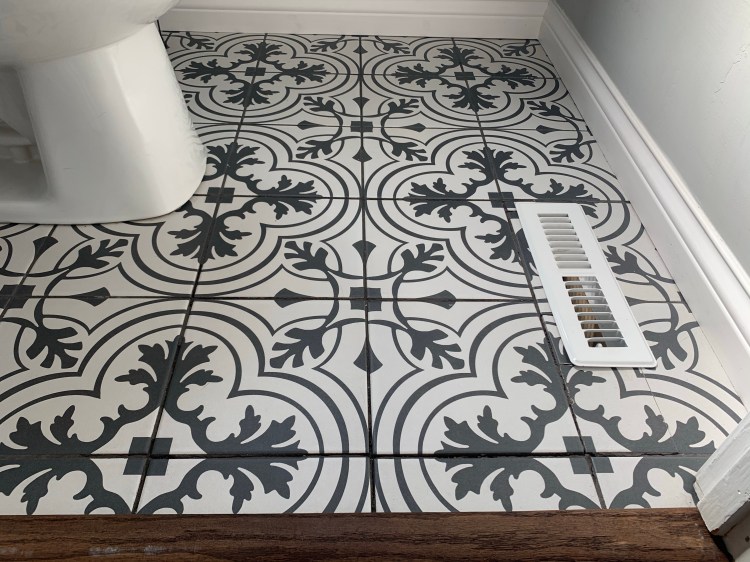
- Install tile floors – 3 day process
- Day 1: Apply adhesive, cut/lay tile, let dry
- Day 2: Apply grout, let dry
- Day 3: Apply sealant to grout lines
- Paint walls
- Install baseboard
- Reinstall toilet/sink
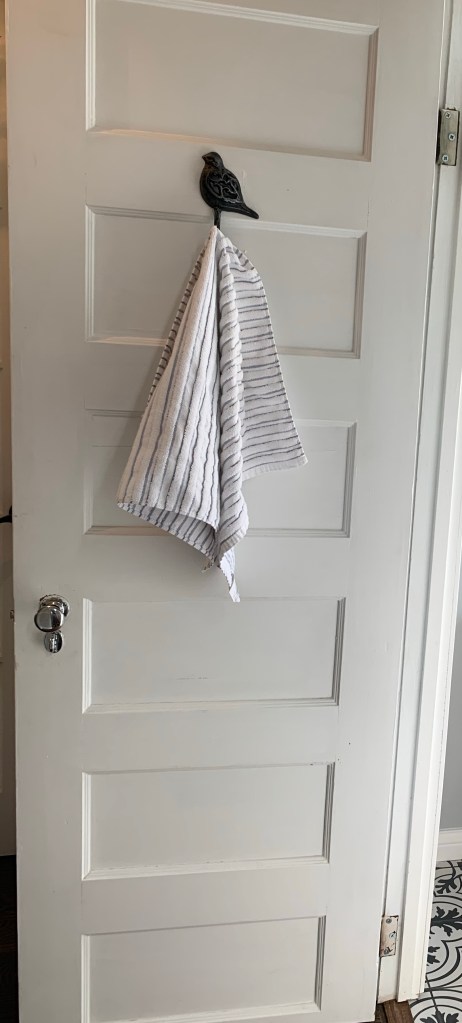
- Install towel hook, mirror
- Install new light fixture